Diving Sites in Port Blair


PADI Open Water Course
Thinking about scuba diving for the first time? The PADI Open Water Diver Course in Havelock Island isn’t some resort quickie or watered-down tour—it’s the real beginning of your underwater journey. It’s straightforward, practical, and gives you diving skills that last. This isn’t about ticking a box on your holiday checklist. It’s about truly learning how to dive properly, safely, and confidently. It’s a chance to open up your world to 70% of the planet that most people never see, and to do it the right way from the start.
Why Havelock Island Is the Ideal Place to Start
Some places are just better for learning how to dive. Havelock, now called Swaraj Dweep, is one of them. The sea here is warm, calm, and ridiculously clear. Not exaggerating—you can look over the boat and see the reef below without squinting or second-guessing. That kind of visibility changes everything for a beginner. You’re not fumbling around in murky water—you’re observing the world in detail.
And it’s not just the clear water. You get in and it’s all there — fish just swimming around like they don’t care you’re there, corals kind of swaying, and just stuff happening everywhere you look. You don’t feel lost or anything; you can see what’s around. The water here doesn’t push you around. No strange currents or sudden drops. You feel steady. Some of the dive spots are right near the shore and not too deep, which is good when you’re just starting. And the instructors they’re relaxed, they’ve done this many times, and they take the time to walk you through things without making a big deal out of it. The whole place just makes sense for learning.
What the Course Involves: Step-by-Step
This course isn’t something you rush through. It takes you from zero experience to being able to dive properly. Things are broken down in a way that makes sense. You do one part, get used to it, then move on to the next. There’s no pressure to be perfect right away. If you mess something up, that’s okay. The instructors are patient. They’ve seen it all. The only thing they want is for you to understand what you’re doing and feel okay while doing it.
Step 1: The Theory — Start at Home
You don’t need to wait until you get to Havelock to start learning. Before your trip, you go through the basic theory online. It’s not hard. You’ll read about how pressure works underwater, how your body reacts, how to stay safe, and how to use your equipment. It’s simple, and you can do it in your own time, whether it’s on a phone or a laptop. You don’t even need the internet the whole time. It usually takes a few hours, but you don’t have to do it all in one go. When you’re done, you’ll know enough to make sense of things when the hands-on part begins.
Step 2: Swim Test and Water Comfort Check
When you reach the island, there’s a quick check to see if you’re comfortable in the water. You’ll need to swim about 200 meters, or snorkel 300 if that’s easier, and float or tread water for ten minutes. That’s it. No speed, no timing, no scores. They just want to be sure you can stay calm in the water and that you’re safe to continue. You don’t need to be a swimmer or an athlete, just not afraid of being in the water.
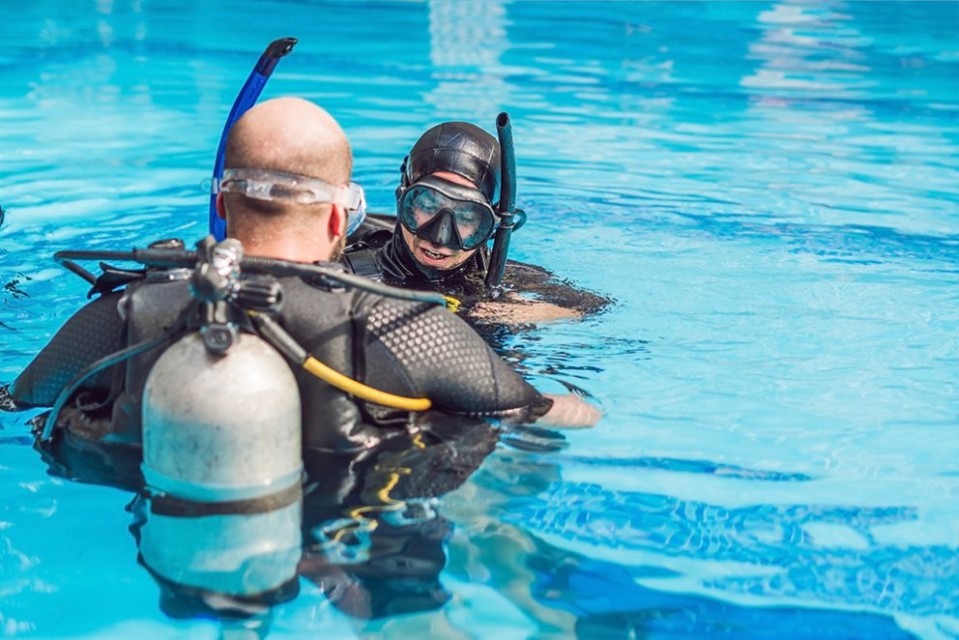
Step 3: Confined Water Training
This is the part where you get into the water for real, but in a safe and controlled place. It could be a pool or a quiet part of the sea. You wear the gear, breathe underwater, and start learning how to handle different things. What to do if water gets in your mask or if your regulator falls out. How to float without sinking or rising too fast. How to talk using hand signs. There are five of these practice dives. You’ll repeat things if you need to. That’s normal. Nobody’s counting how fast you get it. They just want you to feel okay and be ready.
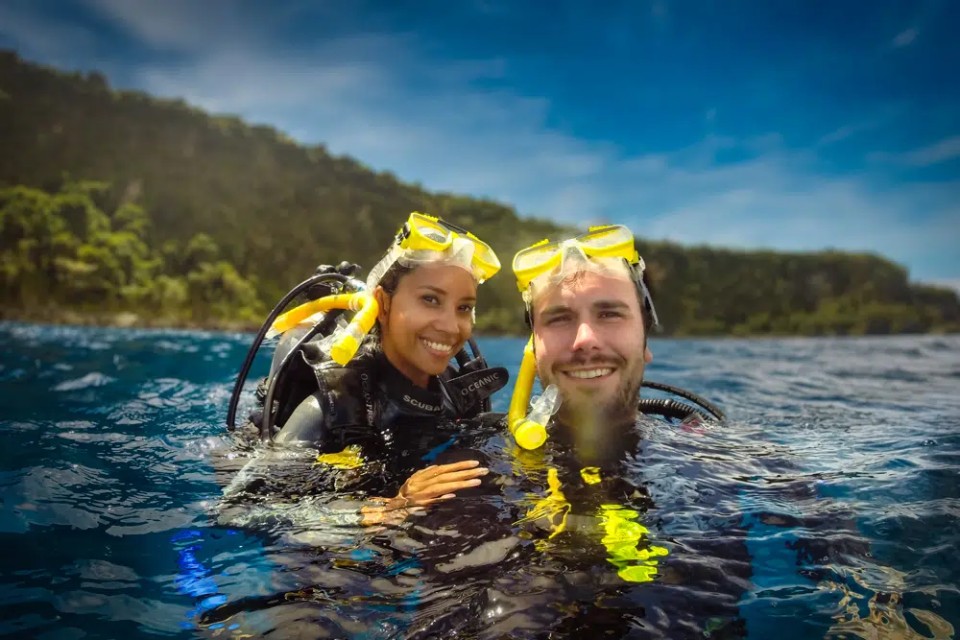
Step 4: Open Water Dives
After you’ve practiced the basics, you take those skills into the ocean. You’ll do four dives in total. The first two are near the shore, shallow and calm. The next two are from a boat and go deeper, up to 18 meters. Each one lasts around 45 to 50 minutes, or until you’re low on air. You’re not on your own. Your instructor is right there with you. During these dives, you’ll see actual marine life and coral. You’ll try out everything you’ve learned while drifting over reefs and watching fish go by. It starts to feel real here. You’ll dive at spots like:
- Nemo Reef – bright fish, soft corals
- Lighthouse – colorful coral walls
- Tribe Gate – sandy, clear, calm
- Red Pillar – deeper water, more life
These are chosen because they’re perfect for new divers. Calm water, clear views, nothing too wild. Just enough to keep it interesting and help you grow confident.
Step 5: Final Exam and Certification
Once all the dives are done, there’s a short written exam. It covers the same stuff you read about earlier. Nothing tricky. Just a check to make sure you’ve understood the basics. After that, you’re certified. Your instructor sends your details in, and you get your digital certificate within a few days. A plastic card comes later. That card means you can now dive anywhere in the world, as long as you have a dive buddy with you. You won’t need an instructor anymore unless you want to go to the next level.
Breakdown For This Course
Day one is mostly about getting the hang of things. You go through the first few theory lessons, just enough to understand what’s going on. Then you head into the water, not the sea yet, just a safe area where you can try the gear and see how it all feels. Nothing too intense. If you’re not a strong swimmer, no one makes a big deal. You can practice floating or swimming a bit more if you want to. On the second day, you finish the rest of the theory and get back in the water to go over the remaining skills. These are still done in the shallow area. You try each thing slowly, no pressure to get it all perfect on the first go. You’ll also do a simple swim and float check at some point, just to make sure you’re okay being in the water. It’s not a race or anything.
Day three is when you finally go out into the sea. The first two ocean dives happen close to the shore. It’s shallow and calm, and your instructor is always right there. You’re not thrown into the deep or anything. After those dives, there’s a short briefing to tell you what to expect the next day on the boat. The fourth day is when you go out on a boat and do two more dives, this time deeper. Still relaxed, but it feels more like actual diving now. You’ll see more around you, maybe feel a bit more confident. After the dives, there’s a short written test. Once that’s done, they process your certification, and that’s it you’re now a diver.
What’s Included in the PADI Open Water Course
- PADI eLearning and study materials
- Instructor-led classroom sessions
- Five confined water training dives
- Four open water dives
- Full scuba gear setup (BCD, tanks, mask, fins, regulator, wetsuit)
- Hotel transfers within 3 km (except Taj Exotica & Barefoot)
- Snacks and water during dives
- Emergency medical kit and oxygen onboard
- Digital certification and registration
- Optional: Underwater photo/video package for those who want to capture the experience
Strong Focus on Safety
Diving is fun, but safety is non-negotiable. Every session includes:
- Pre-dive gear checks
- Safety briefings
- Emergency protocols
- Controlled descent and ascent rates
- Instructor's presence throughout each dive
The instructors are trained not only in diving but also in managing dive stress, spotting issues early, and ensuring you’re never overwhelmed. This is a controlled, thoughtful experience, not a rushed tourist activity. You’re always well taken care of.
Skills You’ll Learn in This Open Water Course
Once the course is complete, you’ll know how to:
- Set up and break down your gear
- Move underwater without sinking or floating up suddenly
- Communicate with your dive buddy without speaking
- Maintain your calm under pressure
- Respond to common problems like mask flooding or regulator loss
- Handle gear failure and manage buoyancy in open water
It’s real training for real situations—not just theory. These are skills that can save lives and keep you comfortable even in unpredictable waters
Conservation and Responsible Diving
You’ll be trained with a conservation-first approach. That means:
- Don’t touch the coral or animals
- Don’t chase or feed fish
- Stay neutrally buoyant to avoid damaging the reef
- Use reef-safe sunscreen
- Take only memories, leave only bubbles
You go in, see all this life, and honestly, the best thing you can do is just leave it alone. Don’t touch stuff. Don’t poke anything. Don’t try to feed the fish. Just be there, float, and let it be. That’s how you respect it. That’s how you dive right.
How It Changes Your Travel Plans
Once certified, you’ll view the world in a new way. Travel plans start revolving around coral reefs, ocean currents, and visibility charts. You’ll meet people who share the same curiosity. You’ll start dreaming about night dives, drift dives, and wreck dives. You’ll start thinking about water temperature and the best time of year to visit certain islands. Maybe you’ll begin researching marine life. Maybe you’ll buy your first mask or fins. It becomes a lifestyle—one built on curiosity and exploration. And diving never truly feels old. Each site, each dive even if it’s the same reef feels fresh.
The Course Stays With You- PADI Open Water Course
Ask any diver, and they’ll remember that first moment: descending slowly, bubbles rising, heart beating faster. Then it settles. You’re floating. Breathing. Surrounded by fish that don’t mind you being there. You see colors you didn’t expect. And suddenly, all the practice, the studying, the gear—it all clicks. You’re diving. That memory stays. It’s not flashy or loud. It’s just quiet, calm, and unforgettable. And it all starts here, on Havelock Island, where you learn the right way, from the beginning. The ocean is waiting. You just have to take the first breath.
X
Enquire Now
X
Book Now
Diving Sites in Port Blair
Diving Sites in Havelock Island
Diving Sites in Neil Island